前言

发送博文前总是得进行一系列重复的操作,为了更节省时间,研究了一下Github Action,这里简单的阐述一下本人部署的过程和一些探索过程中的小tips。

创建仓库

  1. 这里我之前已经有了我的public的github.io仓库来存放我的静态博客

  2. 接着需要新建一个blog_codeprivate仓库来存放Hexp博客的项目源码(这里直接创建就行了,什么都不用加,加了也没事,后面git暴力合并分支就行)

生成deploy密钥

1
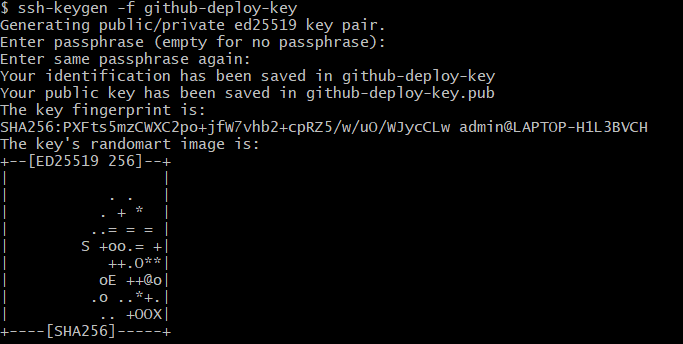
ssh-keygen -f github-deploy-key

直接命令行中执行就行,git bash也没问题,直接一路回车就行

这里会生成两个文件,私钥和公钥:github-deploy-keygithub-deploy-key.pub

密钥

这里较新的生成的格式应该都是ed25519形式的

配置deploy密钥

私钥

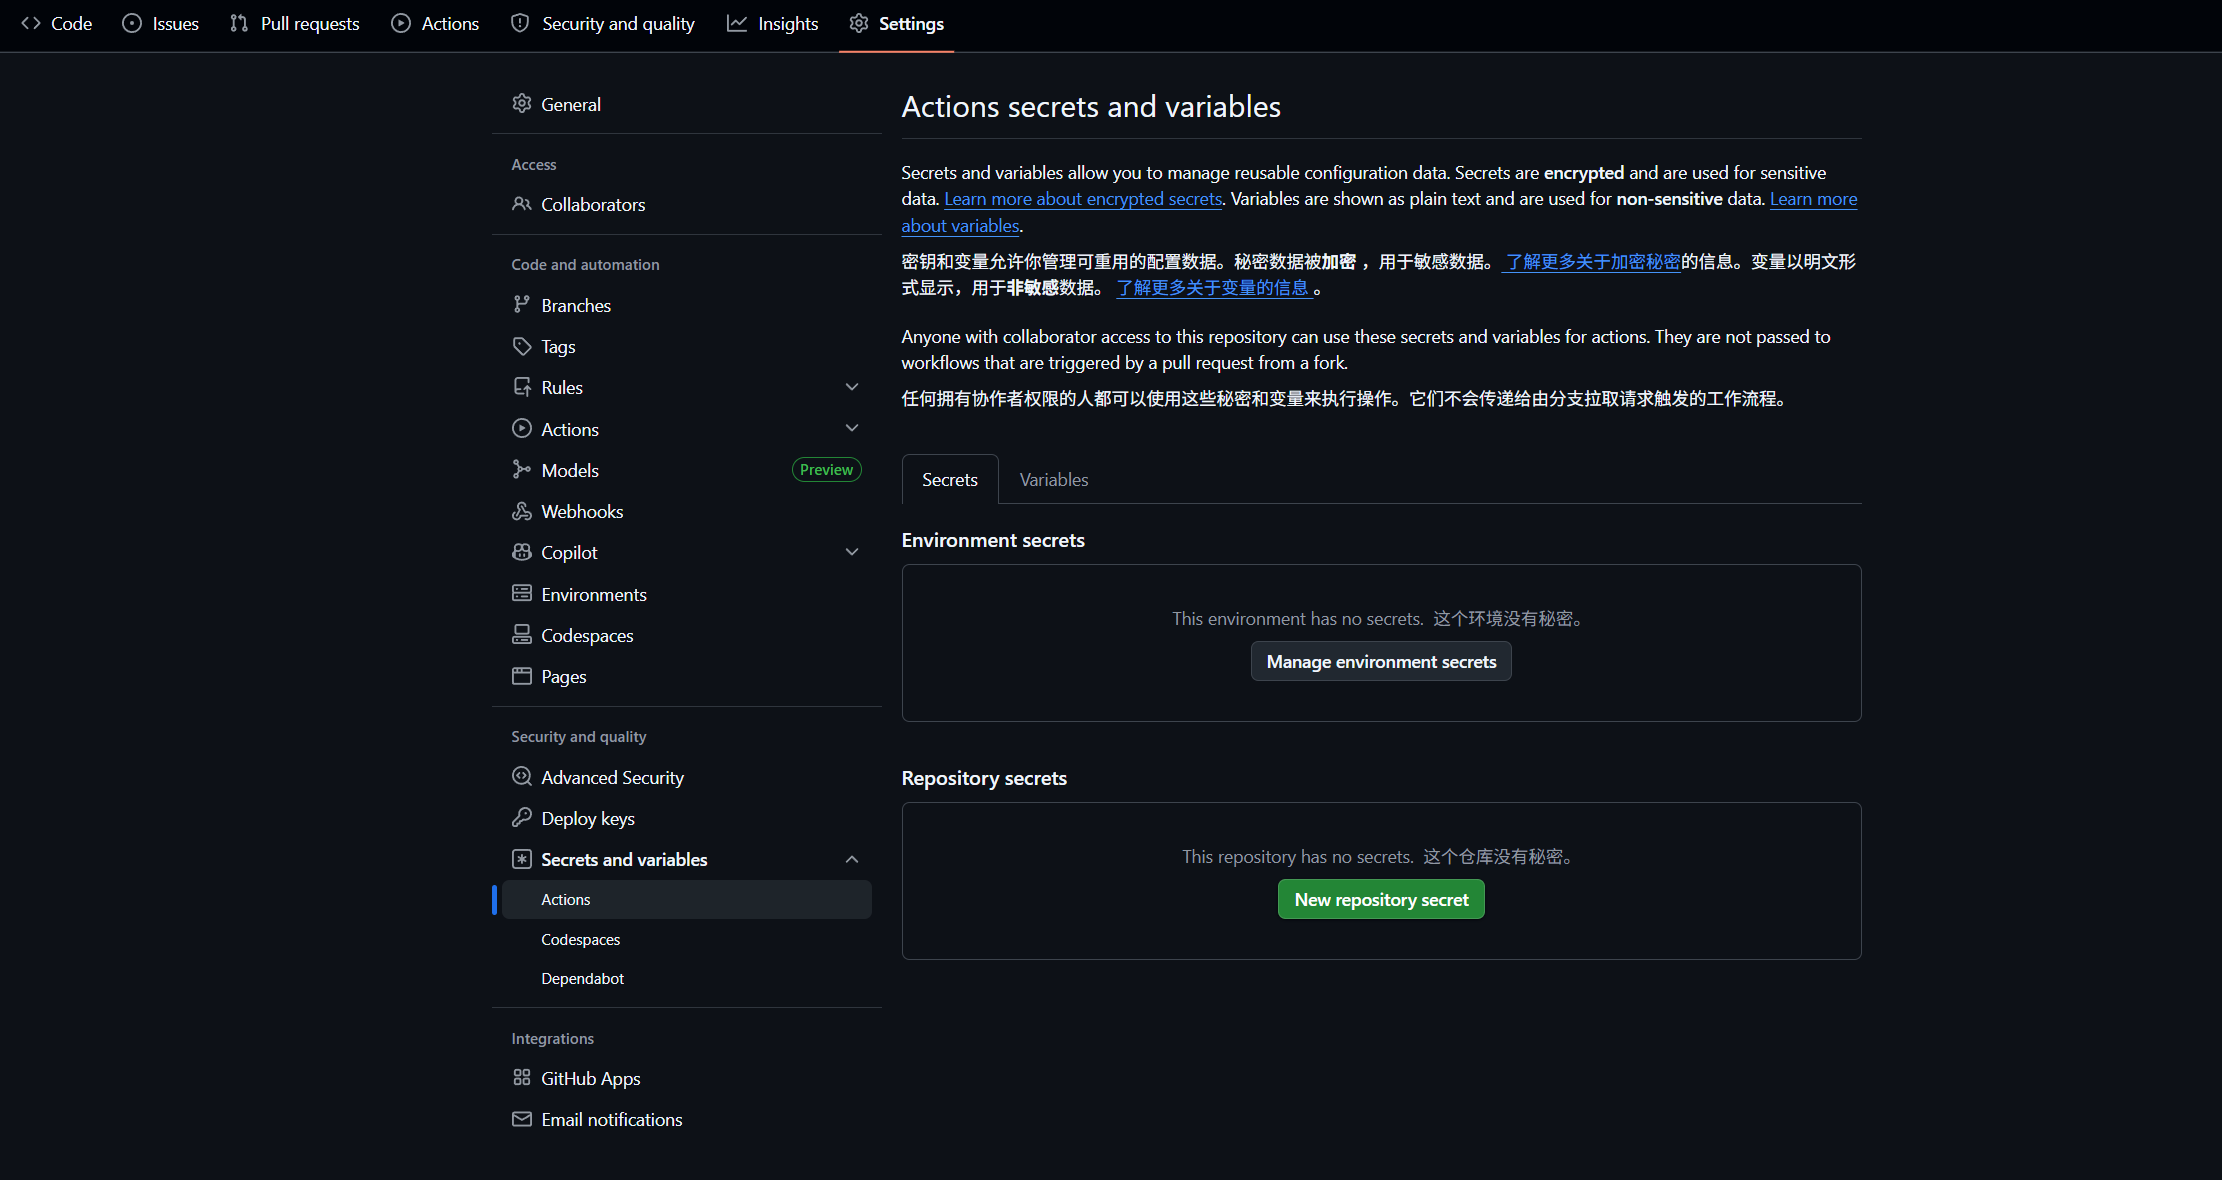
在你自己创建的blog_code的仓库里的 Settings -> Secrets and variables -> Actions
私钥

New repository secret ,然后输入你的私钥名称和github-deploy-key的内容,我这里是叫HEXO_DEPLOY_PRI如果你叫别的名字要记住,后面要用

公钥

复制 github-deploy-key.pub 文件内容,在 yourname.github.io 仓库 Settings -> Deploy keys -> Add deploy key 页面上添加

公钥

还是同样的在 Title 输入框填写 HEXO_DEPLOY_PUBKey 输入框填写 github-deploy-key.pub 文件内容勾选 Allow write access 选项

上传源码

接下来就是把原本的Hexo源码上传到blog_code仓库

假如说你之前是采用的源码开源的双分支部署方式的话,你可能还需要检查一下原本的github.io仓库中是否混杂了源码

我这边因为之前是传到github.io仓库中的所以就没有git init

1
2
3
4
5
6
7
8
9
10
11
12
13
14
15
16
17
18
19
20
21
22
23
24
25
# 删除当前的 origin 远程关联
git remote remove origin

# 把文件添加到版本库中
git add .

# 把文件提交到仓库。引号内为提交注释
git commit -m '第一次提交'

# 关联到远程库
git remote add origin https://github.com/wbsu2003/myblog.git

# 或者
git remote add origin git@github.com:wbsu2003/myblog.git
# 这个就看你之前用的什么方式上传的代码

# 把本地库的内容推送到远程
## 第一次使用加上了-u参数,是推送内容并关联分支。
git push -u origin main

# 下次直接提交
git push origin main

# 强制更新
git push -f origin main

创建Workflow

在你的blog项目根目录里面创建.github/workflows/deploy.yml 文件

这里deploy.yml的内容有很多写法,我这里只配置了github,所以我的是这样的

1
2
3
4
5
6
7
8
9
10
11
12
13
14
15
16
17
18
19
20
21
22
23
24
25
26
27
28
29
30
31
32
33
34
35
36
37
38
39
40
41
42
43
44
45
46
47
48
49
50
51
52
53
54
55
56
57
58
59
60
61
62
# Action 的名字
name: Hexo Auto Deploy

on:
# 触发条件1:main 分支收到 push 后执行任务。
push:
branches:
- main
# 触发条件2:手动按钮
workflow_dispatch:

# 这里放环境变量,需要替换成你自己的
env:
# Hexo 编译后使用此 git 用户部署到 github 仓库
GIT_USER: myLeiMu
# Hexo 编译后使用此 git 邮箱部署到 github 仓库
GIT_EMAIL: 2496740678@qq.com


jobs:
build:
name: Build on node ${{ matrix.node_version }} and ${{ matrix.os }}
runs-on: ubuntu-latest
if: github.event.repository.owner.id == github.event.sender.id
strategy:
matrix:
os: [ubuntu-latest]
node_version: [22.x]

steps:
- name: Checkout
uses: actions/checkout@v4

- name: Use Node.js ${{ matrix.node_version }}
uses: actions/setup-node@v4
with:
node-version: ${{ matrix.node_version }}

- name: Configuration environment
env:
HEXO_DEPLOY_PRI: ${{secrets.HEXO_DEPLOY_PRI}}
run: |
sudo timedatectl set-timezone "Asia/Shanghai"
mkdir -p ~/.ssh/
echo "$HEXO_DEPLOY_PRI" > ~/.ssh/id_ed25519
chmod 600 ~/.ssh/id_ed25519
ssh-keyscan -t ed25519 github.com >> ~/.ssh/known_hosts

git config --global user.name $GIT_USER
git config --global user.email $GIT_EMAIL

- name: Install dependencies
run: |
npm install hexo-cli -g
npm install
# 根据你安装的组件进行安装
npm install hexo-renderer-pug hexo-renderer-stylus --save
- name: Deploy hexo
run: |
npm run deploy

修改的话就改一下env 部分和 Install dependencies的内容,当然你也可以上网搜索别人的参考,但我找到的很多版本都比较旧了,就放结尾吧

触发Action

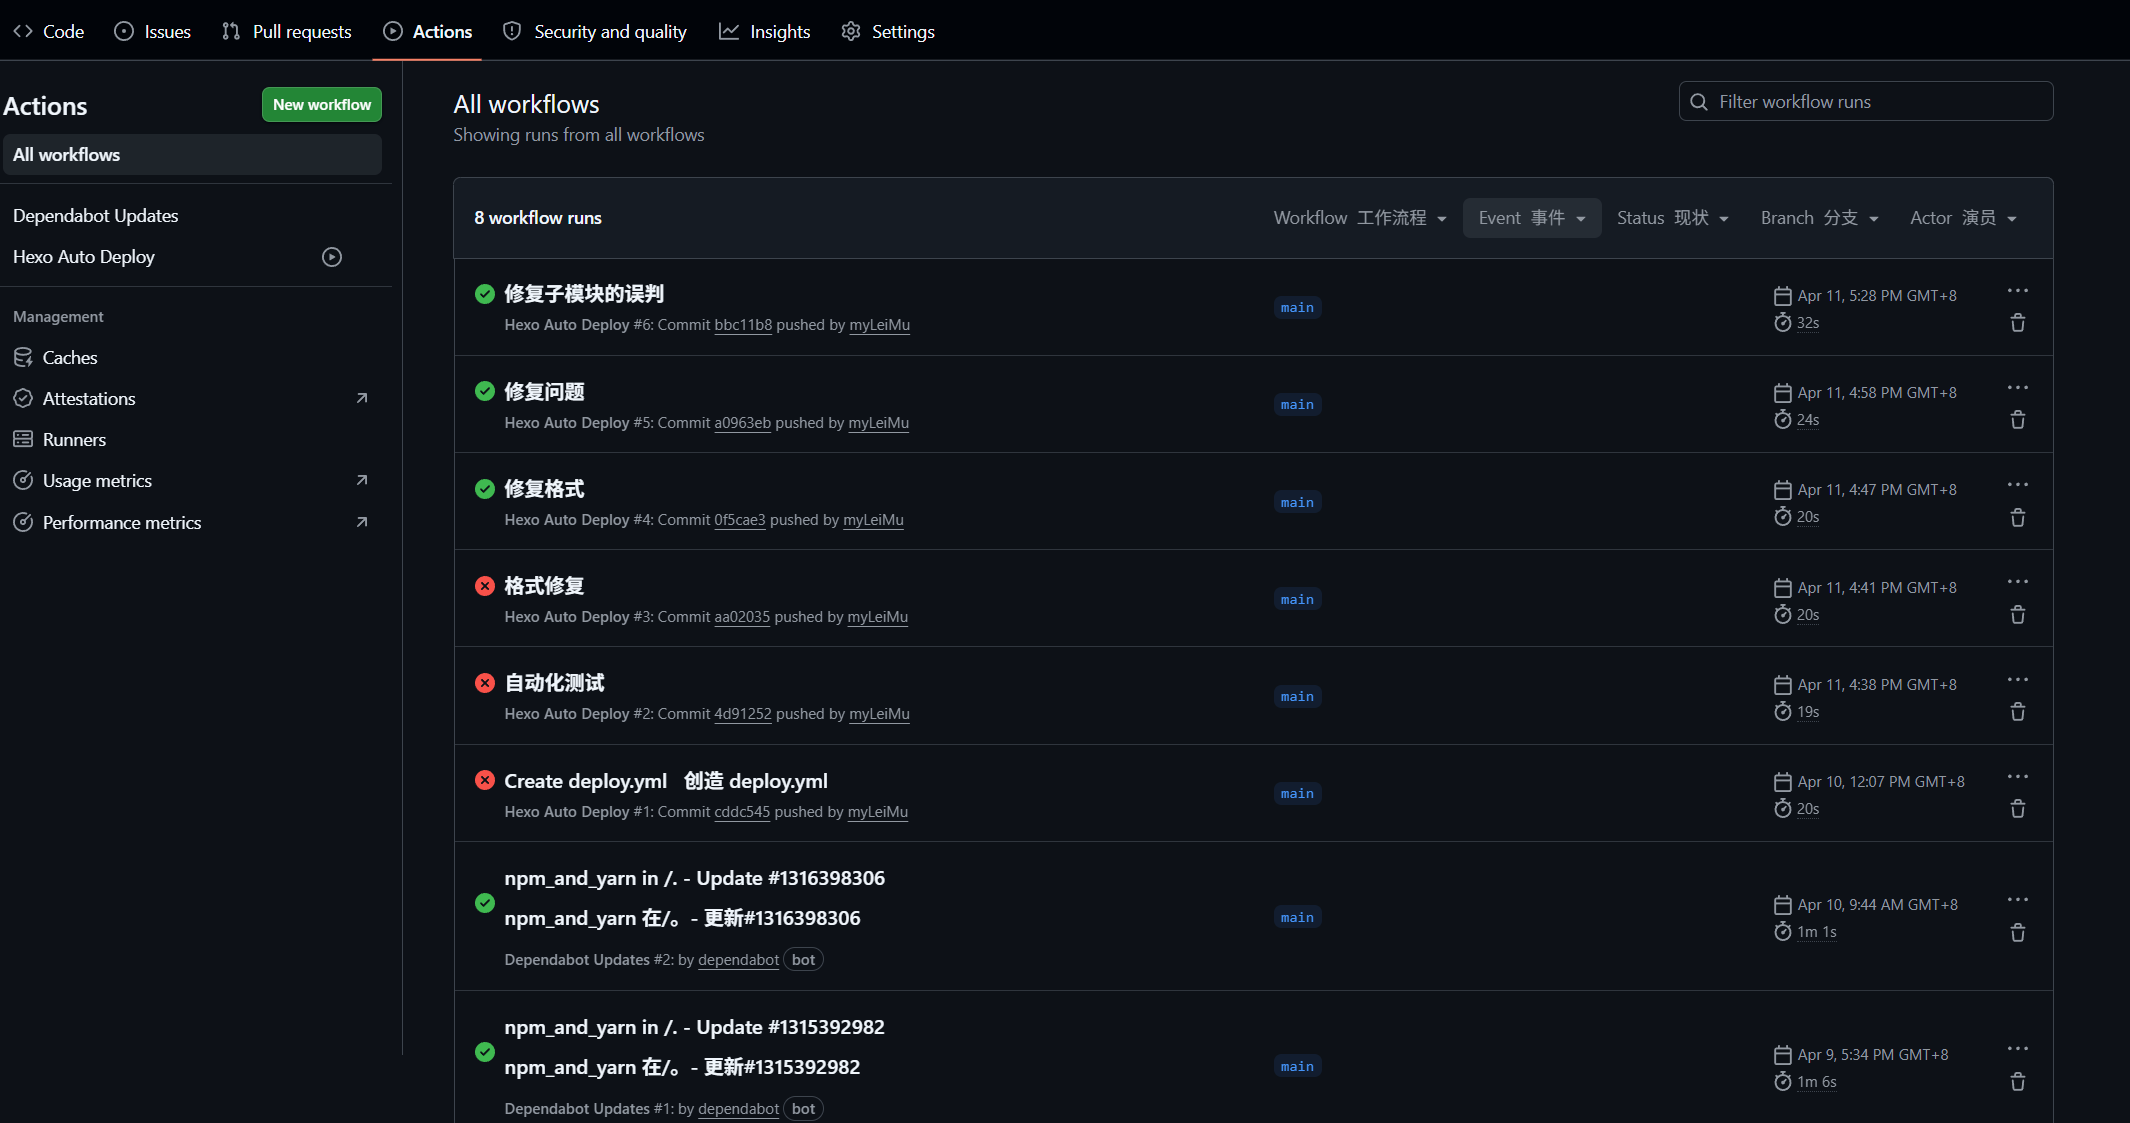
只需要你将文章写好了直接上传github就行了
Action

假如你一开始没成功,github会自动给你发邮箱来告诉你失败了的(就像我一样),然后你就可以根据报错问题来排查,当然我这里报错是因为deploy.yaml参考的例子太老了,按理说照我的来应该不会报错了

可能会出现的问题

  1. 我这边用的主题是butterfly的,因为butterfly的主题中自带有.git所以会被识别为子模块,这导致的结果就是虽然workflow成功了,但是你的博客却看不到内容,我的方案是在.gitignore中假如该主题的.git

    1
    2
    3
    4
    5
    6
    7
    8
    9
    10
    11
    12
    .DS_Store
    Thumbs.db
    db.json
    *.log
    node_modules/
    public/
    .deploy*/
    _multiconfig.yml
    .deploy_git*/
    themes/butterfly/.git/
    .idea
    deploy_key/

    假如你一开始的git就追踪了的话那就需要先去掉追踪再删除该内容

  2. 关于deploy.yaml的内容,需要你根据自己的版本进行动态调整,可能需要多试几下,比如假如你的加密不是ed25519的话,那你的相关内容也需要调整了

参考的文章

Hexo优化配置

用GitHub Actions自动部署Hexo